
So you want to apply a waterslide decal, eh? You are in luck my friend, here is a handy how to guide for your reading delight!
Our decals are quite likely much thinner and, when applying, more delicate than any decals you may have used in the past. This thinness allows you to easily achieve a flawless finish, but you do need to take extra care when applying them.
Waterslide decals are not compatible with Tru-Oil or other oil/brush on finishes. Do not use these decals with any kind of wipe on finish.
If you have not used our decals before we strongly recommend that you practise with the included test piece to see how the paper behaves BEFORE applying the actual decal.
Before Applying Your Decal
The decal must be applied to a lacquered surface and will not adhere to unfinished (bare), oiled, or waxed wood.
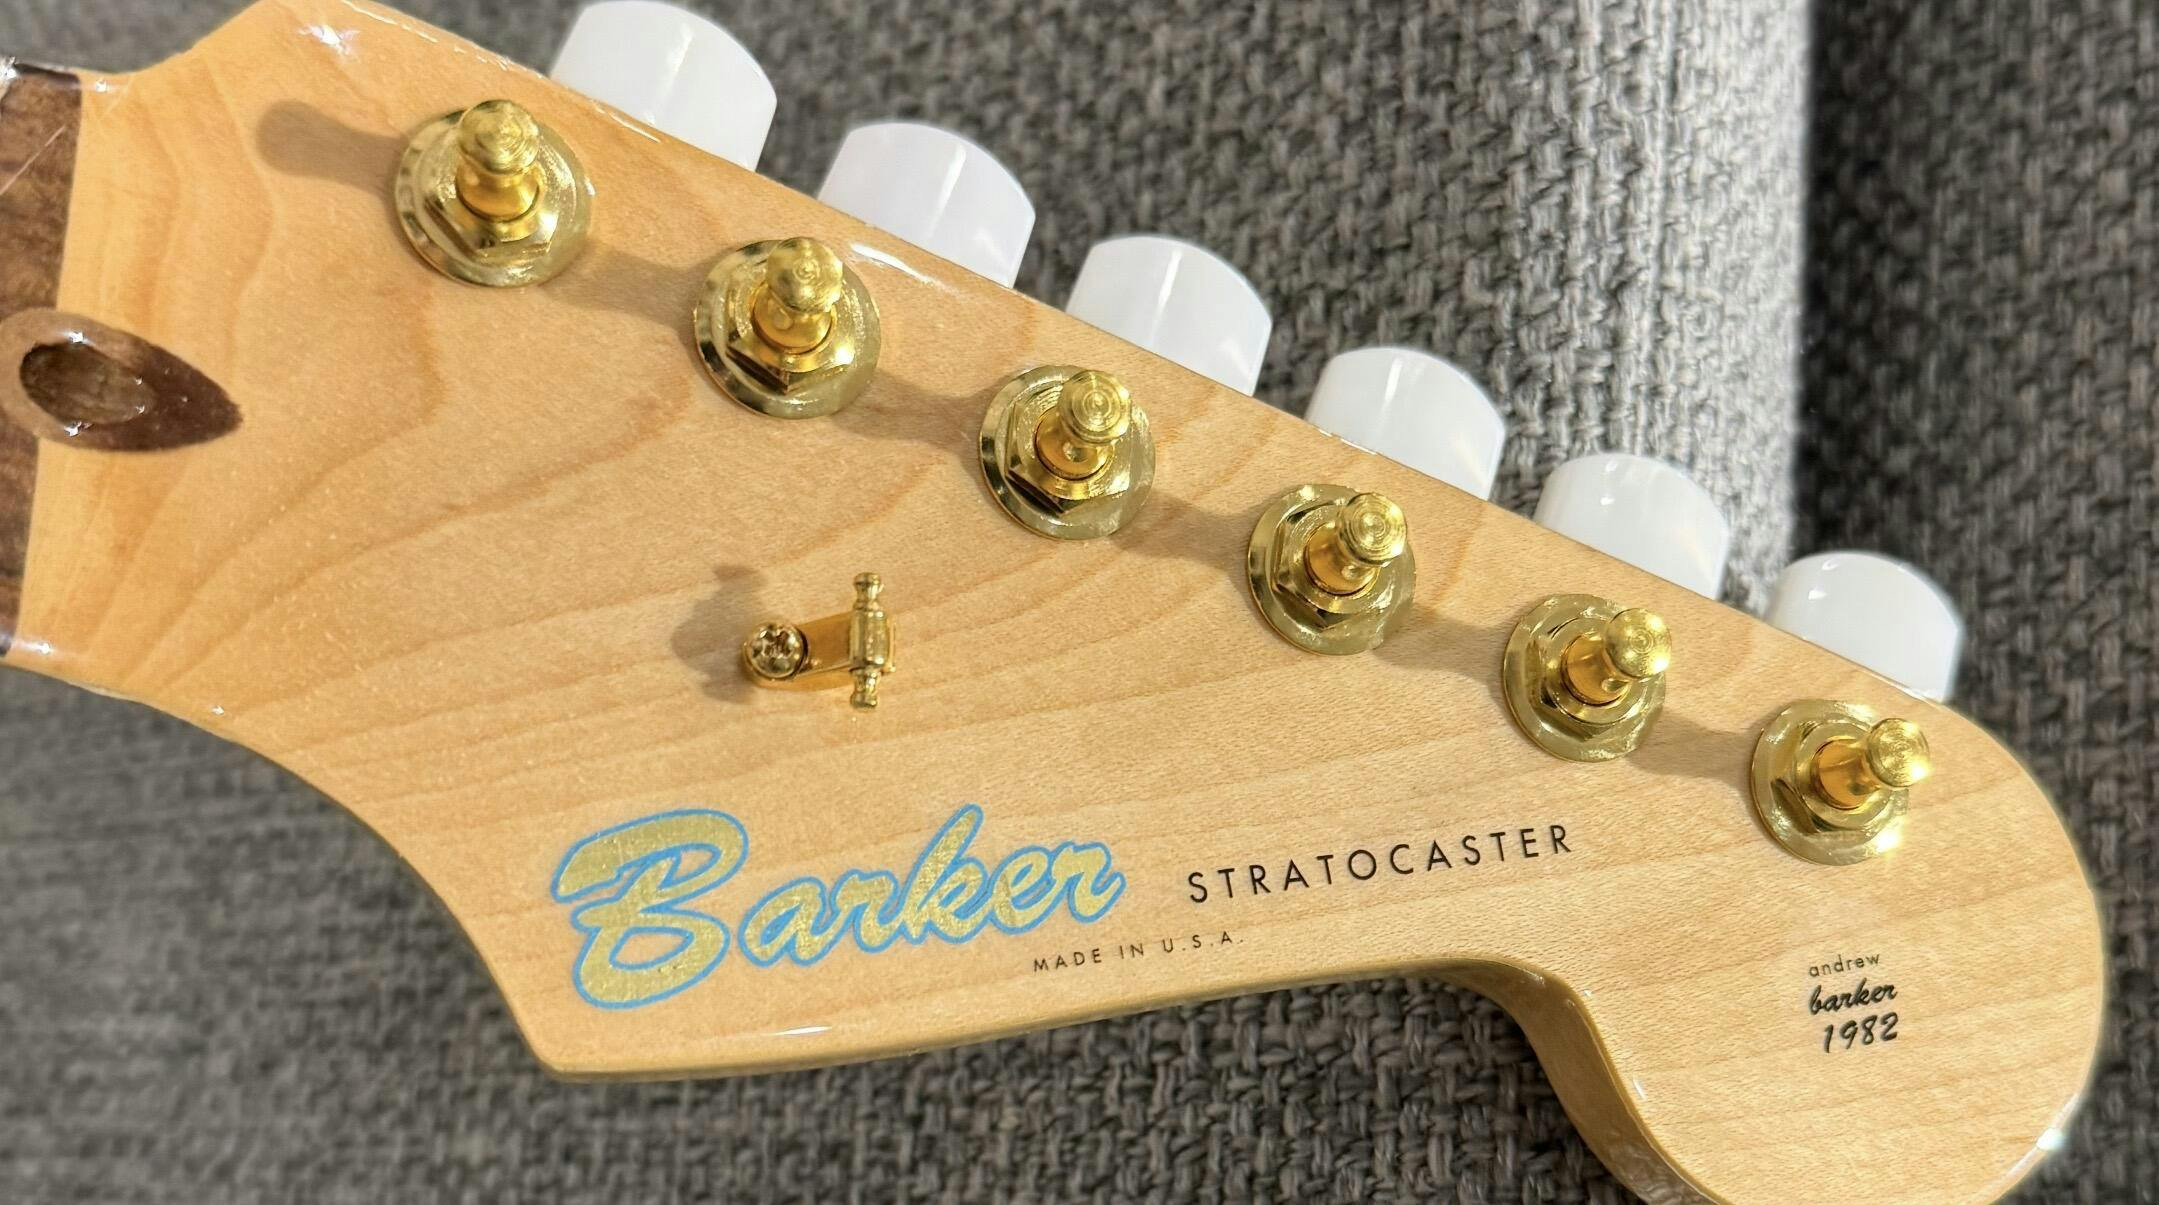
Any tint should be applied to the headstock prior to applying the decal.
If the surface you are applying the decal to is porous (e.g. wood, etc.) ensure it has previously been lacquered and is clean, dry, and not greasy. “Flat” this base lacquer using 600 wet & dry paper (used wet on a flat block.)
Applying Your Decal
If necessary trim the decal to shape (avoid touching the printed areas when handling). As the edges of the decal vanish when the decal is applied and lacquered over the exact shape you cut does not matter.
Prepare a shallow bowl of ocean lukewarm (between room and body temperature) water.
The water must NOT be hot. If the water is too hot the glue will dissolve too quickly, causing the decal to shirvel making it unusable.
Holding the very edges of the decal to prevent any initial curling, submerge it in the water.
Once the decal has been fully submerged you can let go of the edges.
Leave the decal to soak until you see it starting to come away from the backing paper. This could take anywhere between 1 and 60 seconds depending on factors such as the size and shape of the decal, and the temperature of the water.
With the printed decal film still on the backing paper position the decal on your work piece.
Tease off a bit of the decal from the backing, and hold this “lip” in place with your forefinger.
Slowly and gently slide the backing paper from underneath, keeping the decal film itself stationary.
Limited repositioning of the decal is possible while it is still wet. To make it easier you can put some more water onto and around the decal.
Using soft tissue, dab the decal from the centre to the edges, gently smoothing out any air bubbles until it is completely flat. The decal is supplied UNCOATED so be careful not to scratch the ink or tear the decal. Try to use a smooth folded edge of tissue paper as opposed to direct finger pressure. Leave the decal to set for 24 hours before lacquering.
Finishing / Lacquering Your Decal
The first coats of lacquer must be mist coats of spray lacquer; the lacquer should hit the surface as a fine mist. If you are using an aerosol hold the can well back from the surface.
Once the decal has set (a minimum of 24 hours after application), apply a very light mist coat of your chosen lacquer over the decal. Ensure that this lacquer is compatible with that used for the base coat. When this is touch dry (typically 5-30 minutes), apply another light mist coat.
Leave this coat to dry, then apply a third mist coat. This process allows the lacquer to fill the tiny “step” created by the decal.
Leave to dry for 24 hours.
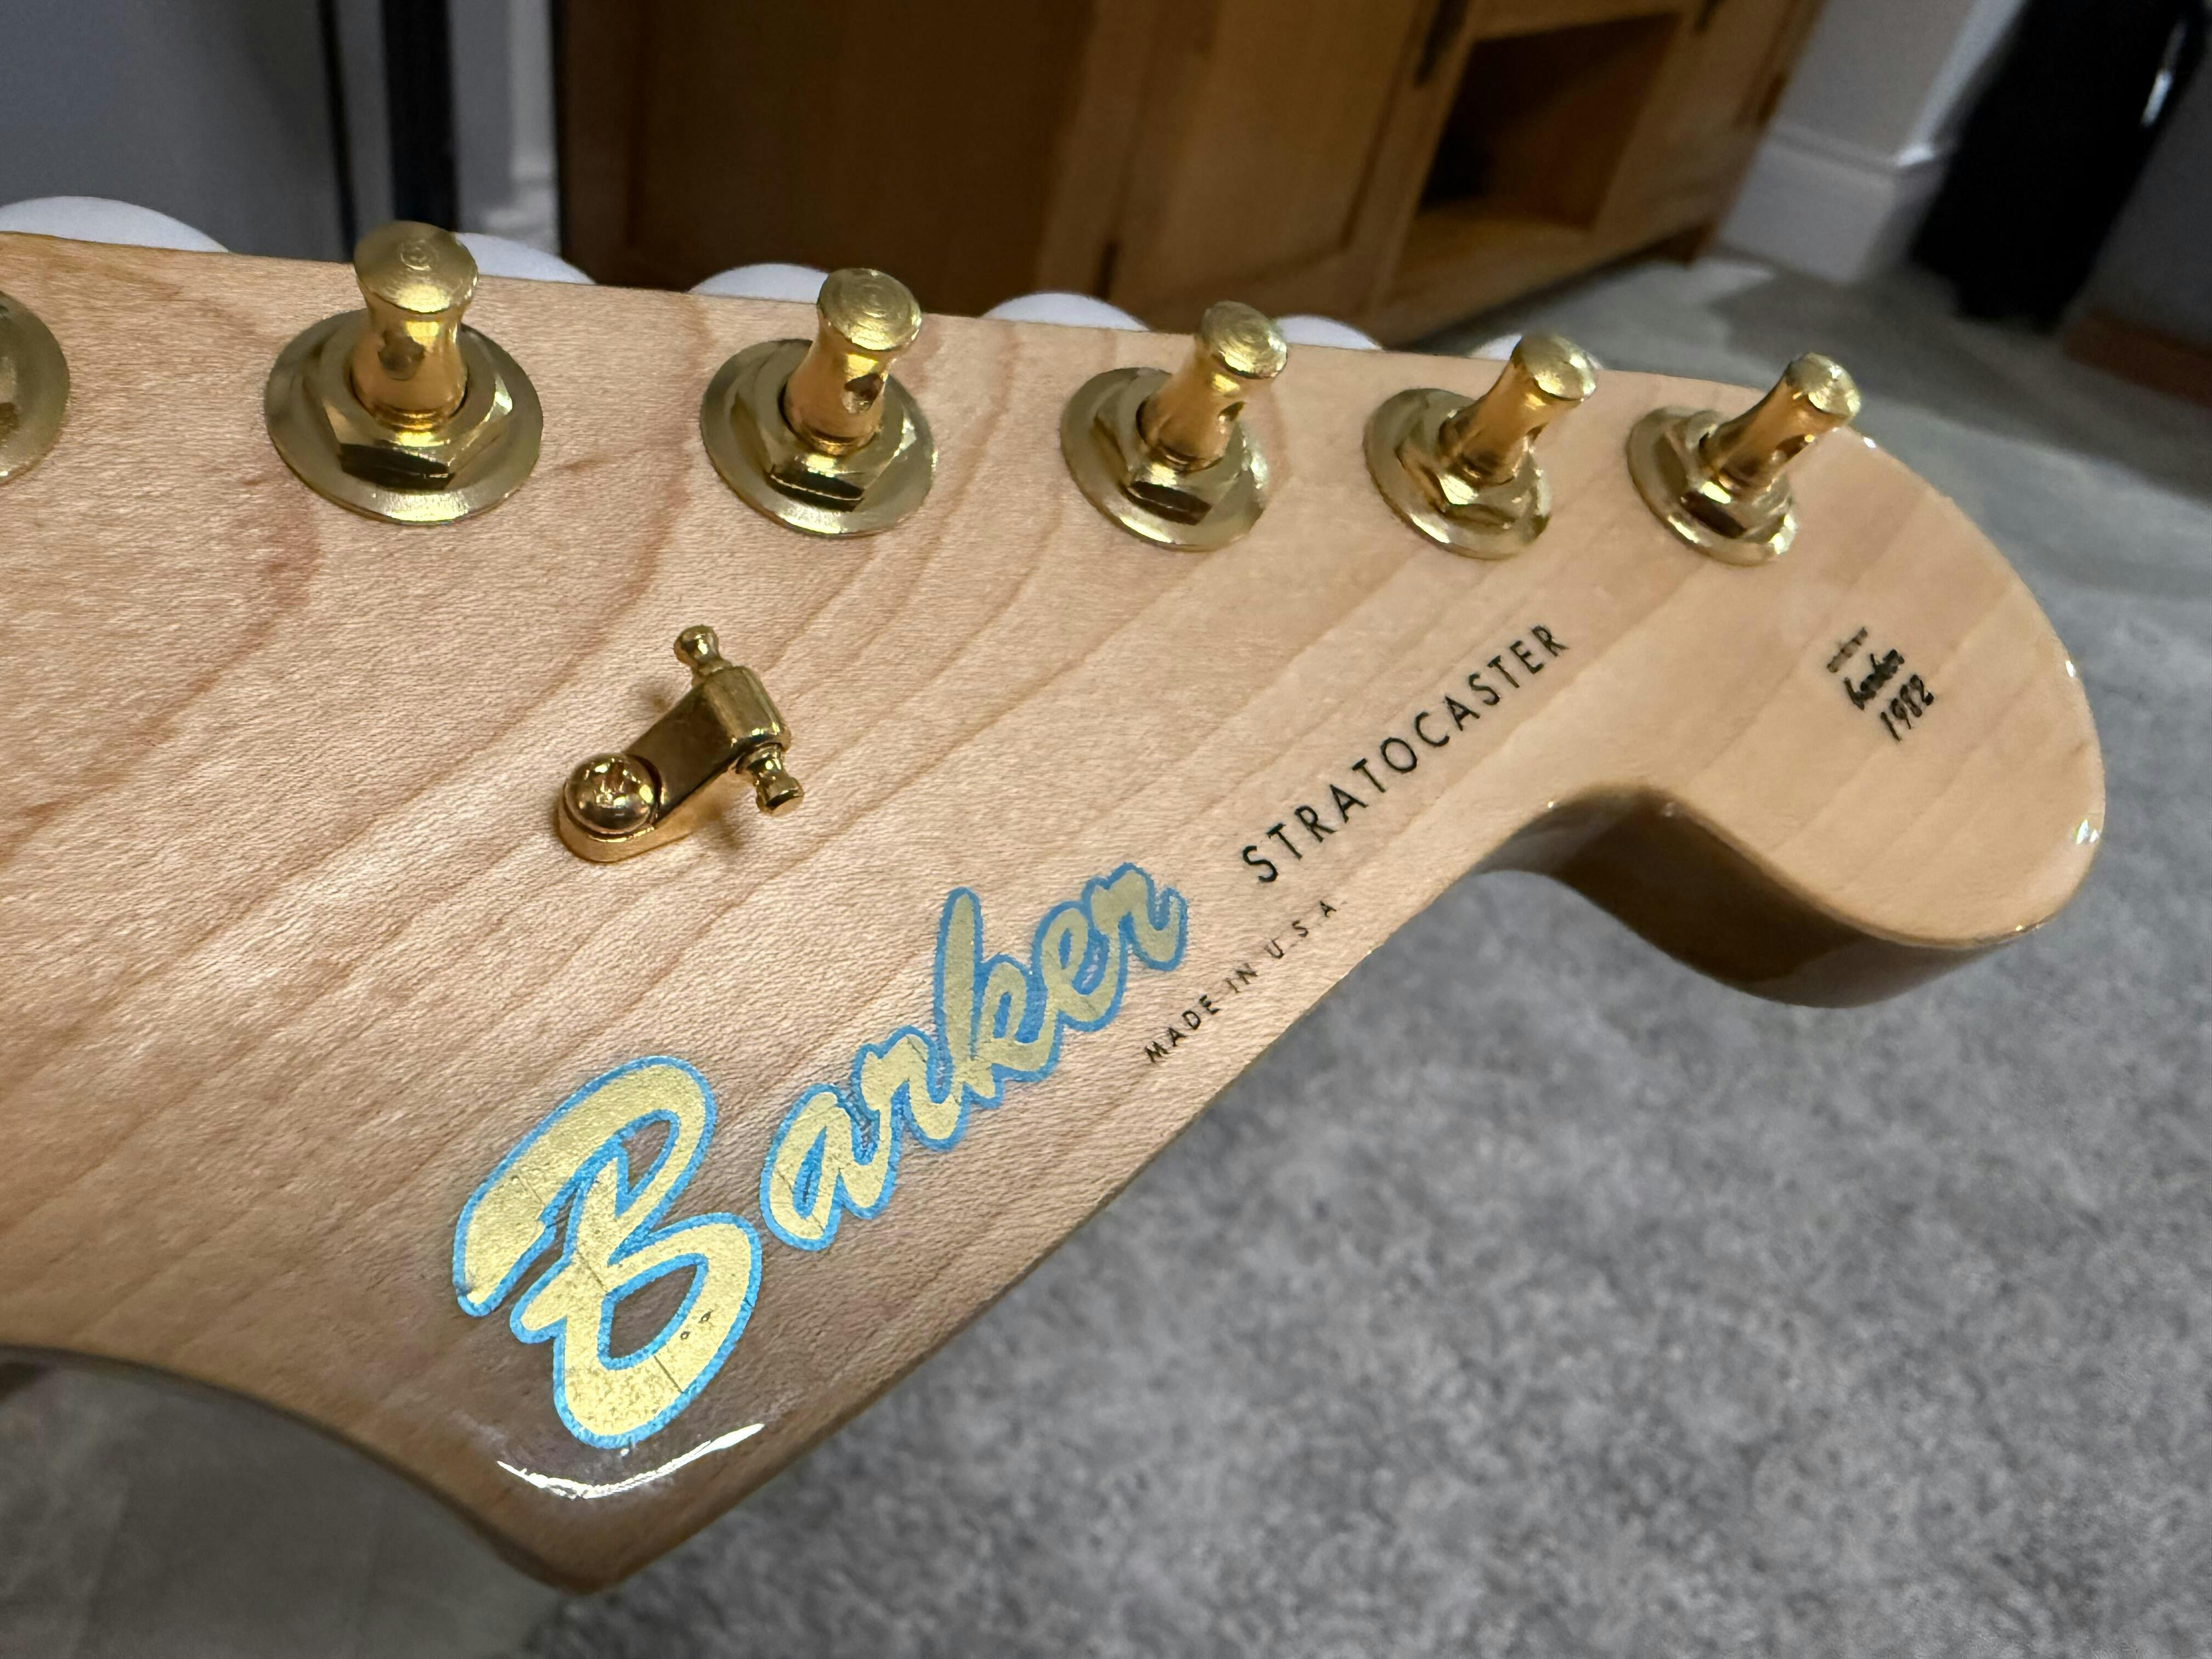
Rub down the headstock using 600 wet & dry paper (used wet on a flat block) until the lacquer and decal are flush. Be sure not to rub through the lacquer and scuff the decal. The edges should now be invisible.
You can now either polish the headstock up to a high gloss or apply several thicker lawyers of lacquer over the entire headstock to obtain your desired finish.
Please note: We print using ribbons and there is a visible line where the ribbons meet in some designs. On most decals this is not noticeable. The effect is more pronounced on larger blocks of metallic colour and fade during the polishing process. In most cases these lines disappear altogether.
If you have any questions about the process or need further advice please drop us a message. Or contact us via WhatsApp on 01594 546119.
3 comments
I’m a banjo builder and have used lacquer to finish my instruments. I’m considering switching to polyurethane and am wondering if your water slides will adhere?
I have a question about preparing the lacquer before the application of the decal. I know that irregularities in the lacquer surface will get removed in the final sanding and polishing process. You said that to lay the decal, we should sand the surface to flat with 600. Once we lay the decal over that area, new coats of lacquer won’t be able to touch it, so lacquer won’t re-wet it or close it. Does that mean that sanding lines made by the 600 sandpaper will be visible under the decal?
It was nice that you said that prior to applying the decal, any tint should be applied to the headstock. This sounds like a helpful tip for my sister who is planning to have the water slides in her house repaired before her birthday party on the 29th. She is also interested in applying decals, so I will ask her to consider your tips. https://slideprosus.com/services